Hi, I’m Justin.
Today, I am taking you on a Virtual Tour of the HF Umbrella production line. Here is exactly how we transform raw materials into a product worthy of your brand.
Table of Contents
Step 1: Incoming Quality Control (IQC) 🛑

Before we cut a single piece of fabric, we inspect the raw materials.
- The Frame Check: We bend the fiberglass ribs to ensure they don’t snap.
- The Fabric Check: We roll the fabric over a “Light Table” to spot any weaving knots or uneven coating. If it fails, we return it to the mill.
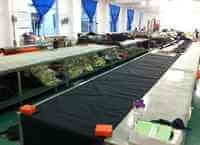
Step 2: The “Large Cut” & “Small Cut” ✂️
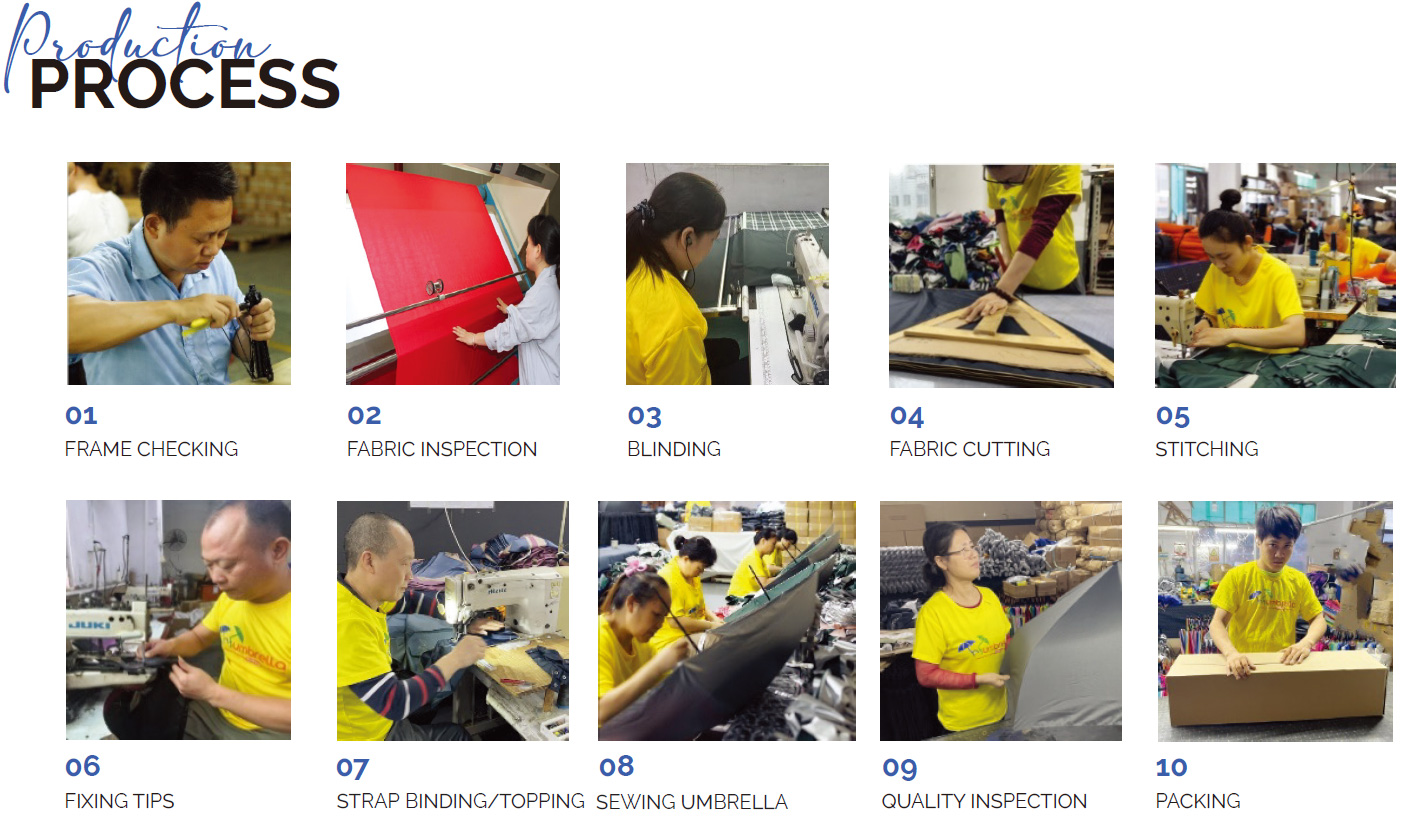
We don’t just cut a circle. We cut triangles.
- Large Cut: Cutting the fabric roll into rectangular strips.
- Small Cut (Goring): This is crucial. We cut the rectangles into triangles called “Gores”.
Justin’s Insight:
Cheap factories stack 500 layers of fabric and cut them all at once. The bottom layers often slip, resulting in different sizes.
HF Standard: We cut in smaller batches using digital templates. This ensures every panel is identical, so the final canopy is tight and smooth, not wrinkly.
Step 3: Printing (The Branding)
Before sewing, we print your design on the flat Gores.
- Screen Printing: For simple logos.
- Digital Printing: For complex art.
(See our Printing Guide for more details on this step).
Step 4: Canopy Assembly
Workers use sewing machines to stitch the 8 triangular Gores together. This creates the dome shape.
Critical Detail: The top center point (The Rosette). We use a waterproof washer and tight stitching here. If this is loose, water will leak down the shaft and drip on your hand.
Step 5: Frame Assembly (Skeleton)
While the fabric is being sewn, another team assembles the Shaft, Ribs, and Runner. For Golf Umbrellas, we attach the Fiberglass Ribs to the shaft using a high-impact plastic Notch.
Step 6: The “Marriage” (Joining Frame & Canopy) 🧵
This is where the umbrella comes to life. We attach the fabric to the frame.
The “Sewn Tip” Difference:
- Cheap Way: Glue the fabric to the rib tips. (Problem: Glue dries and pops off).
- HF Way: We use a special machine to Sew the tips onto the fabric. It takes longer, but it’s permanent.
Step 7: Handle Installation
We attach the handle (Wood, Rubber, or Plastic) to the shaft. We use strong epoxy glue or screws, depending on the material, to ensure it never twists loose.
Step 8: Final QC & Packaging (The Torture Test)
We don’t just box them up. We stress them out.
- The Open/Close Test: Every umbrella is opened and closed 3 times.
- Thread Trimming: We trim all loose threads for a clean look.
- Water Test: Random samples get blasted with high-pressure water.
See It With Your Own Eyes
Reading about the process is one thing. Seeing it is another.
I invite you to a Live Video Tour of our factory. See our workers sewing the tips and testing the frames.
Buy quality umbrellas from a professional umbrella factory now!
Save your 30%-50% cost!
Email: info@hfumbrella.com What’s app:86 13527750521